Ribbon mixers in many industries are designed similarly from facility to facility with few variations. However, some design considerations can minimize the up front investment and maintenance, and maximize production and quality. The best way to get optimal efficiency from your ribbon mixer is to get the right design from the start. Depending on your materials, environment and overall mixing system, there may be more to consider than you think.
How to Optimize Your Ribbon Mixer
Compile Ingredients List
Your ingredient characteristics will play a role in several ribbon mixer design elements, and starting with this information will help your equipment manufacturer optimize the design. This way, you will have the size and features you need, without expensive extras. What characteristics you include will depend on whether your ingredients are solid, powder, liquid, or paste. For solids, it’s helpful to know any of the following that apply:
- Number of ingredients
- Names
- Bulk density
- Weight
- Particle size variation
- Adhesion
- Friability
- Shear sensitivity
Design the ideal system for your ingredients. Download the Engineer’s Guide to Weighing and Batching >
Record Facility Requirements
In some facilities, space may be a concern. This will impact the footprint and profile of your mixer, which in turn affects volume and production. If you require a large 8 or 10 ton ribbon mixer to meet production, be sure that this will not crowd out other equipment or create workplace hazards.
Calculate Total Production
How much you need to mix will help you determine the size and profile of the ribbon mixer design, or how many mixers you may need. This way, you aren’t investing in a larger mixer than you need, or one that doesn’t make sense with your total cycle time.
Determine Mixing Time
Your ingredients generally must move through the mixer completely three times to be adequately mixed. How long this takes depends on the ribbon mixer dimensions, as well as the ingredient characteristics. To be considered adequately mixed, you’ll need a coefficient of variation of 10 or less. Testing the mixer and the system with your ingredients beforehand will prevent excessive variation, while providing the ideal cycle time.
Record Weighing Time
Minimizing mixing time can yield efficiency gains, but not if the mixer sits idle while ingredients are measured. How long it takes to weigh and discharge ingredients will give you a guideline for the ideal mixing time. If your weighing time and mixing times are close to the same, you can minimize idle time for each process.
Accurate Agitator Profile Design
To get a good mix, you’ll need to fill the ribbon mixer to its swept volume. This means the agitator profile determines, in part, how much the machine can mix in one cycle. The mixer profile should not exceed 2.5 times the diameter of the agitator. The design of the agitator itself, including the ribbon thickness and shaft, may also be a factor, as a heavier agitator will require more energy to move and will have more shear. A simpler agitator design can reduce the initial investment if it’s suitable for the ingredients and facility.
Determine Ribbon Mixer Profile
With the previous information, you can determine the optimal ribbon mixer profile. Longer mixers will be able to mix more volume, but it will take longer, though this won’t be a problem if the cycle times aligns with the weighing time. For lower mixing time and more volume, you’ll need to scale up the ribbon mixer profile proportionately.
Number of Ribbon Mixers
In some cases, it may be more economical to use two ribbon mixers instead of one that is double the size. This way, a problem with one mixer will only reduce production instead of stopping it.
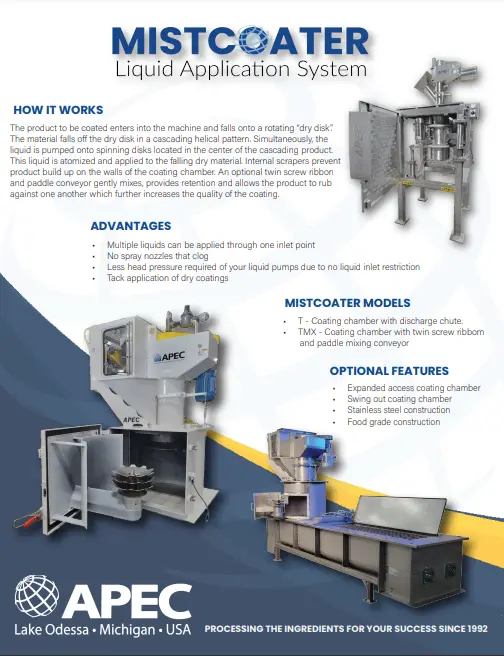
Liquid Coating Considerations
If your ingredients require a liquid coating, you may wish to apply it during the mixing stage. Keep in mind that some liquid coatings may not be evenly applied at this stage, or they liquid may not be suitable for spray nozzles. If the liquid coating can be applied during mixer, be sure to factor in any additional adhesion that may occur. If material stick to each other or to the mixer, extra maintenance may be required, which can eat into ROI.
Determine Shear
Ribbon mixers are generally gentle and impose little shear on ingredients, however it can be an important consideration with some shear sensitive materials. Consider any solid ingredients as well as liquid coatings; are they likely to break apart or separate? Do the ingredients require more shear to break up clumps? Most mixer manufacturers are happy to do testing in order to determine the best configuration for your product.
Accurate Horsepower
Most ribbon mixers operate at around 20 RPMs, though the horsepower it requires will depend on the size of the mixer and the characteristics of the ingredients. Make sure you don’t overestimate your motor and overspend, or underestimate your motor and reduce power to your ribbon mixer.
Install Proper Discharge Gate
The discharge gate on your ribbon mixer(s) will depend on your cycle time, downstream process and your materials. Drop bottom discharge gates will discharge quickly, but they can be harder to seal and allow powders to escape. This can be a challenge for very fine ingredients. Slide gates will discharge more slowly, but will seal more tightly. Multiple slide gates can provide a tight seal with faster discharge.
Reduce Maintenance
The type of gear reducer used in your ribbon mixer motor can impose unnecessary maintenance costs. A shaft reducer in lieu of a jack shaft or foot mount eliminates the need for an oil bath on the sprocket.
Some ribbon mixers are straightforward, and the mixer design varies little over time and throughout the industry. Others are more complex, and considering all the elements can help you improve the design. With the right ribbon mixer design from the start, your mixer will continue to work quietly in the background, with optimal efficiency and no problems.


